Why Your Canva Prints Look Wrong (And How to Fix It!)
You’ve poured your heart into designing the perfect flyer, business card, or invitation in Canva. It looks absolutely stunning on your screen. But then, you hit print, and BAM! The colors are dull, the edges are fuzzy, or something just feels... off. Sound familiar?
It's one of the most frustrating experiences for any designer, new or pro. But here at Genius Junkie, we believe your brilliant designs deserve to look just as brilliant in print. Today, we're diving deep into why Canva prints can go wrong and, more importantly, giving you the ultimate step-by-step guide to fixing it fast so your prints look crisp, professional, and exactly as you envisioned!
The Sneaky Culprits: Why Canva Prints Go Awry
Before we fix it, let's quickly understand the main reasons your Canva prints might be disappointing:
- Color Profiles: Screens use RGB (Red, Green, Blue) colors, while printers use CMYK (Cyan, Magenta, Yellow, Black). This conversion can sometimes lead to duller colors if not handled correctly.
- Resolution: Designs meant for web (72 DPI) will look pixelated when printed, which usually requires 300 DPI for high quality.
- Bleed & Margins: Not accounting for bleed (the extra design area that gets trimmed off) can result in white edges.
- File Format: Saving in the wrong format (e.g., a low-res JPG) can compromise print quality.
Option 1: The Seamless Path – Using Canva Print
Canva Print is your best friend for hassle-free, professional-quality prints delivered right to your door. Here’s how to use it:
- Finalize Your Design: Double-check everything – text, images, spelling, and alignment.
- Click "Print Your Design": In the top right corner of your Canva editor, click the "Share" button, then look for "Print Your Design" or a specific product type (e.g., "Print Flyers").
- Select Your Product: Canva will suggest options based on your design size (e.g., Flyers, Business Cards, Posters). Choose the one that fits.
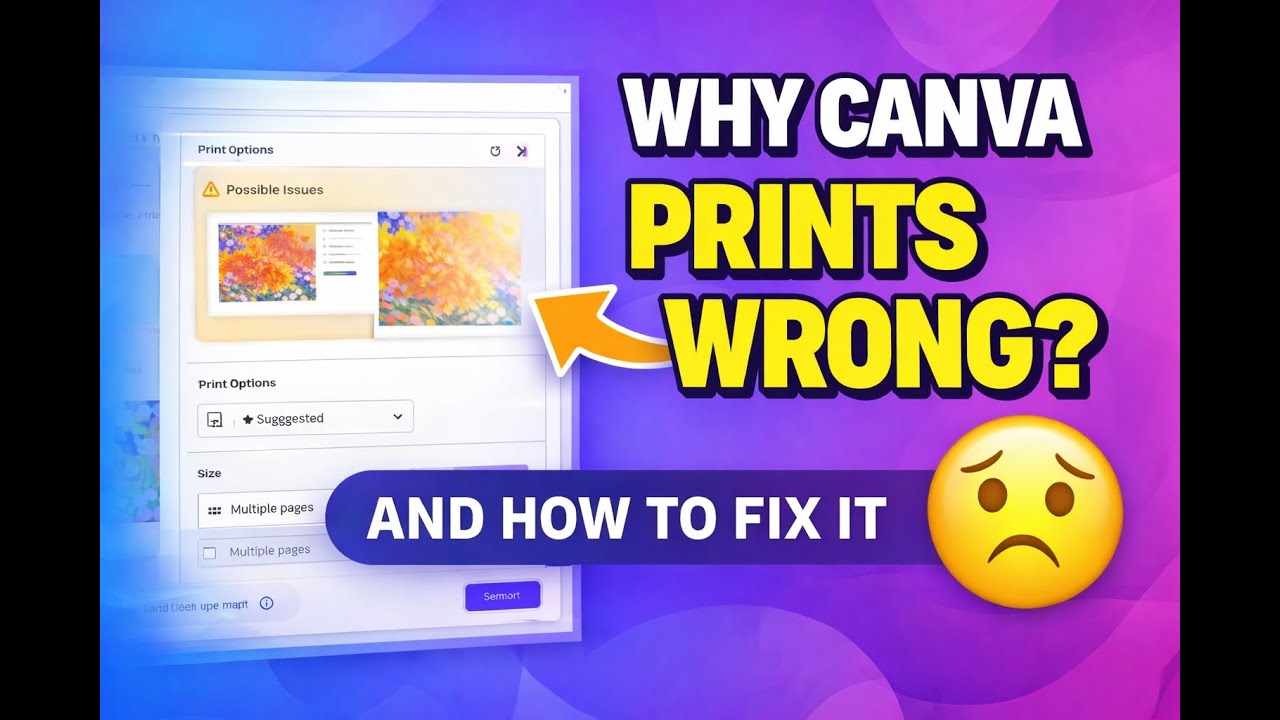
- Review Print Area & Bleed: Canva will show you a preview of how your design will look and warn you about any potential issues with text or elements too close to the edge. Pay close attention here!
- Choose Paper Type, Finish & Quantity:
- Paper Type: Select from various options like standard, premium, recycled, or specific cardstock weights.
- Finish: Decide between matte (non-glossy), glossy (shiny), or uncoated.
- Quantity: Pick how many copies you need.
- Review & Order: Once you're happy with all your selections, review the final cost and shipping details, then proceed to checkout.
Pro Tip: Using Canva Print automatically handles bleed, resolution, and color profiles for optimal results!
Option 2: Mastering Home & Local Printing with Print-Ready PDFs
If you prefer to print at home or take your files to a local print shop, downloading the correct print-ready PDF is absolutely crucial.
- Prepare Your Design for Print:
- Ensure your design elements are within Canva's "print bleed" and "print trim" guides (toggle these on under "File" -> "View settings" -> "Show print bleed").
- Avoid placing important text or images too close to the edges.
- Download Your Design for Print:
- Click the "Share" button in the top right.
- Select "Download."
- For "File type," choose "PDF Print." This is the highest quality option for printing.
- Crucial Settings to Check:
- Crop marks and bleed: ALWAYS check this box! This adds guides for printers to cut your design perfectly without white edges.
- Flatten PDF (Canva Pro): Recommended for designs with many layers or complex elements to ensure consistent rendering.
- CMYK (Canva Pro): If you have Canva Pro, select CMYK for the best color accuracy with professional printers. If you don't have Pro, Canva will convert it for you, but CMYK is ideal.
- Click "Download."
- Printing at Home:
- Open the downloaded PDF.
- In your printer settings, select "Actual Size" or "100% Scale" (do NOT "Fit to page").
- Choose the highest print quality setting and select the correct paper type (e.g., cardstock, photo paper).
- Always do a test print first!
- Printing at a Local Shop:
- Provide your local printer with the "PDF Print" file that includes crop marks and bleed. They will love you for it!
- Clearly communicate your desired paper type and finish.
Key Takeaways for Flawless Canva Prints:
- Always use "PDF Print" for home or local printing.
- Check "Crop marks and bleed" when downloading your PDF.
- Consider upgrading to Canva Pro for CMYK color profiles, especially for professional printing.
- Double-check your design against Canva's print guides.
- Do a test print at home before committing to a large batch.
- Canva Print is a fantastic, convenient option for guaranteed professional results.
No more sad, dull prints! By following these steps, you'll transform your digital Canva masterpieces into stunning physical prints every single time. Go forth and print with confidence!
What's your favorite Canva printing hack? Let us know in the comments below! Don't forget to like, share, and subscribe to Genius Junkie for more design wisdom!